Cadeau kaart/Gift card

Ja,soms weet je het even niet meer. Wat nu te geven
en dan is zo'n kaartje met geld erop een goed idee,
maar dan wel leuk verpakt!
Yeah,sometimes you don't know what to give and are
those gift cards a wonderful alternative,
but only when wrapped nicely.
Ik heb deze kaart geaakt met de Top Note die.
Je snijd hem hiervoor 2x uit cardstock en
2x uit design papier. Ik heb een velletje uit
TrimThe Tree designer series paper stack
(zo leuk dat het aan twee kanten te gebruiken is!).
I made this gift card with the Top Note die. You cut out
2 pieces of cardstock and 2 pieces of Trim the Tree designers
paper from the stack. So much fun to be able
to use both sides of the paper.
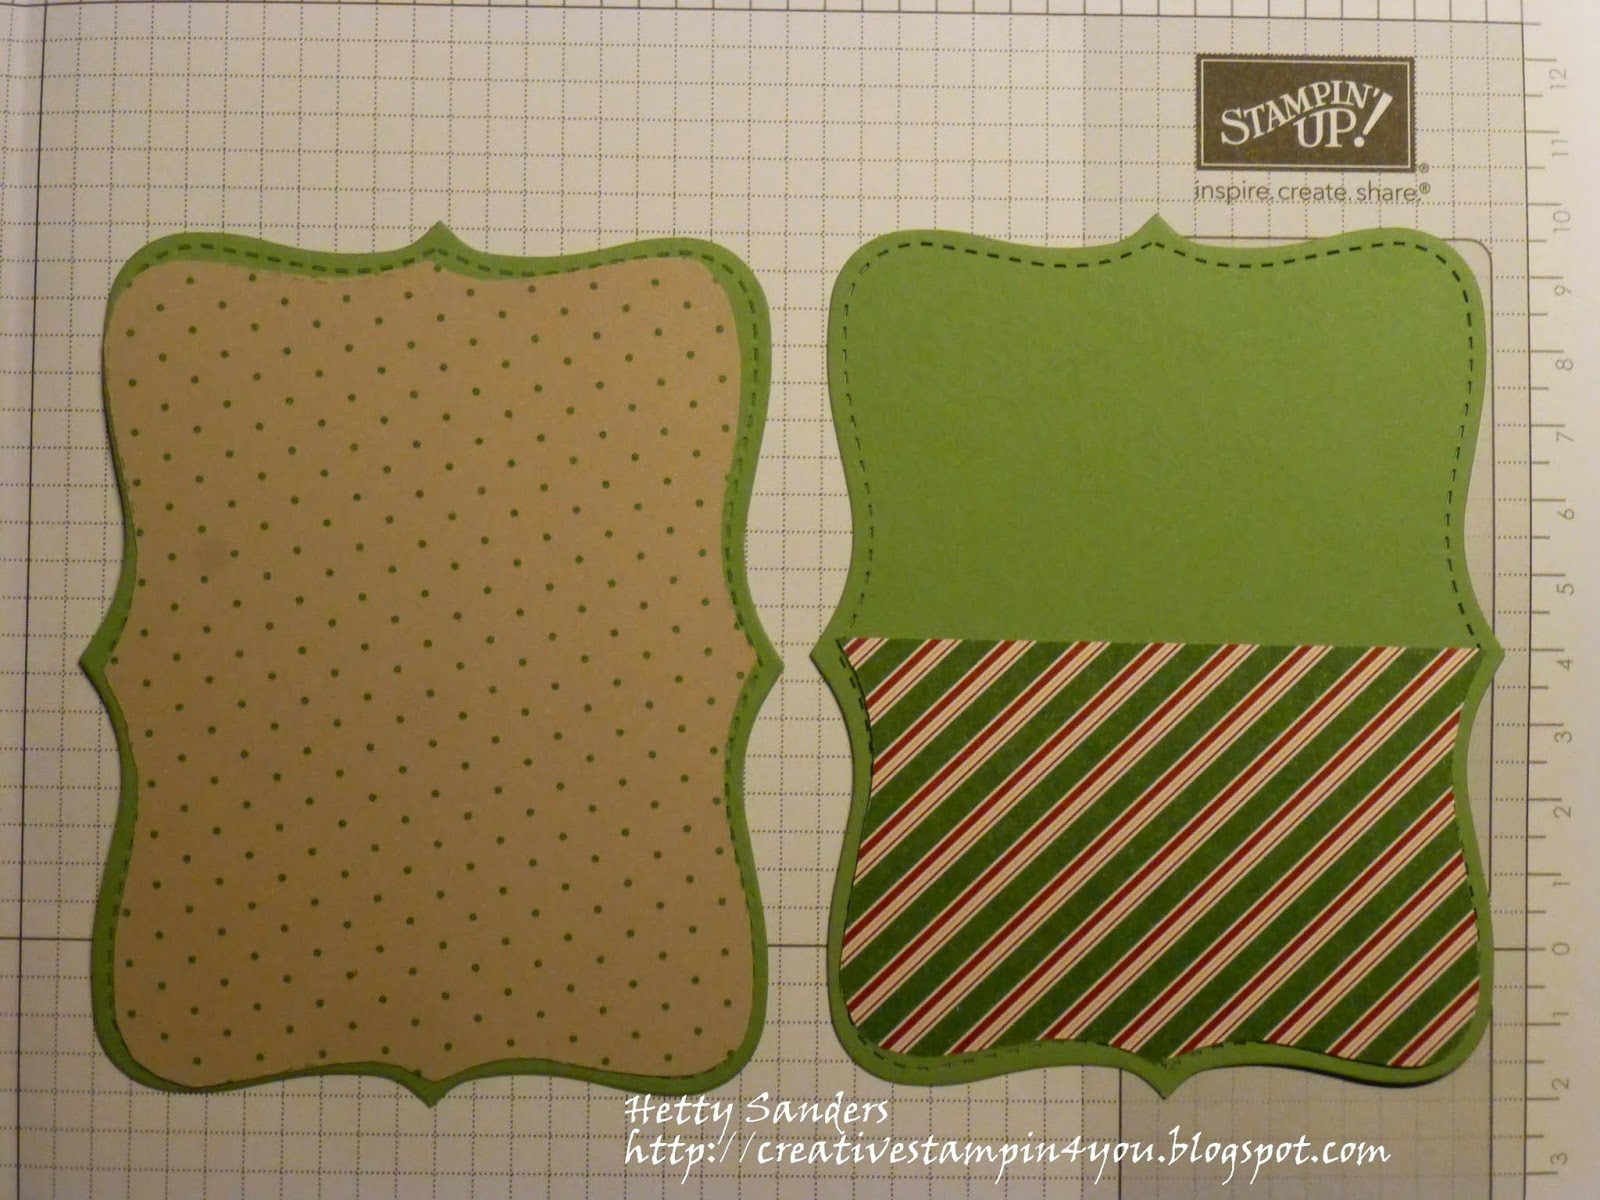
Zo ziet het er dan uit. Plak het ene velletje op
de voorkant en decoreer naar eigen idee.
Ik heb de boom van de set Lovely as a Tree
gebruikt en de tekst is van Work of Art.
Adding the paper and it looks like this. Glue the full
pece to the front and the half piece inside only
on 3 sides. Stamp the tree of Lovely as a Tree set
on the front and use the sentiment of Work of Art.
Maar ja denk je......ik heb die Top Note die niet
en ik vindt het wel een leuk idee. Nou dat kan ook hoor.
Gewoon wat recht papiertjes snijden en eventueel met
een hoekpons mooi rond maken (als je die wel hebt).
Ok, now you think....I like this,but I do not have
the Top Note die. Just cut some straight papers.
You can use a corner punch,if you have one.

Ook hier weer Design papier gebruikt uit de set
Trim the Tree. De rode kant is de voorkant
en daar waar het halve papiertje zit is de binnenkant.
Deit papiertje plak je dus alleen aan drie kanten vast,
zodat je het cadeau kaartje er nog in kan doen.
Here I used some other Trim the Tree Designers paper.
The red is the front and the half green one is the
inside,that is only glued on three sides,so you
can add the gift card.
Versier de voorkant en maak links boven een gaatje.
Deze keer doe je er een lintje aan en kan je het zo
in de boom hangen!
Decorate the front and make a whole on the
top left side. Add a ribbon and you can
hang this in the tree.

Bedankt weer voor het langs komen
en tot morgen!
Thanks again for stopping by.
See you tomorrow.


onafhankelijk Stampin'Up! demonstratrice
No comments:
Post a Comment